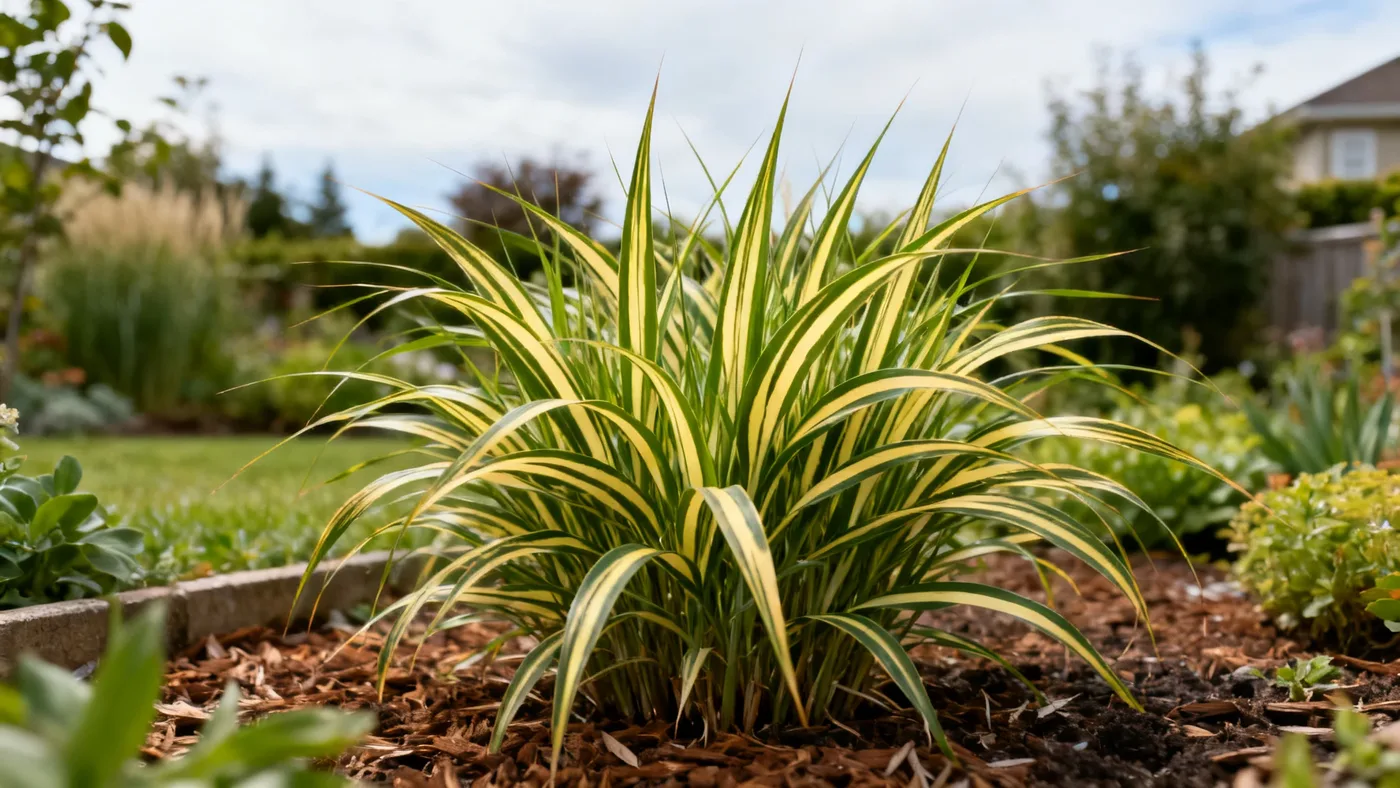
Best Soil, Drainage and pH for Dwarf Zebra Grass
Dwarf Zebra Grass (Miscanthus sinensis 'Little Zebra') is adaptable, but it performs best when you match its soil preferences. Getting the soil right from the start means stronger root development, faster growth to its 3-4 foot mature size, and better resistance to drought and pests. This guide walks you through preparing the ideal soil conditions, and shows you exactly what adjustments to make if your garden doesn't start out perfect.
Materials and Tools You'll Need
- Garden soil or topsoil
- Compost or aged bark
- Coarse sand or perlite (for drainage improvement)
- Soil pH testing kit
- Measuring tape or ruler
- Shovel or spade
- Garden rake
- Optional: local extension service contact for professional soil testing
Step-by-Step Soil Preparation
- Test Your Current Soil pH
Before planting, measure your garden soil pH using a simple kit from a garden center or by submitting a sample to your local extension service. Dwarf Zebra Grass adapts well to a pH range of roughly 5.5-7.5 (slightly acidic to neutral). Most garden soils fall within this range. If your soil tests below 5.5, you may need to add lime; if it's above 7.5, sulfur amendments can help. However, adjustment is usually unnecessary unless your soil is extremely acidic or alkaline.
- Assess Your Soil Texture
Dwarf Zebra Grass is surprisingly adaptable to different soil types, but drainage is critical. Squeeze a handful of moist soil from your planting area to determine its composition:
- If it forms a tight ball that stays clumped, it's clay-heavy and needs drainage improvement.
- If it crumbles easily, you have ideal loamy texture.
- If it runs through your fingers, it's sandy and drains very quickly. You may need to add compost to retain moisture.
- Prepare the Planting Hole
Dig a hole slightly wider and at the same depth as your nursery-grown plant (typically quart, #1, or #3 containers). Space multiple plants 24-36 inches apart. Avoid digging deeper than necessary; the grass should not settle lower than its original soil line.
- Amend Soil for Drainage
This is the single most important step. Dwarf Zebra Grass does not like standing water, even though it tolerates average moisture once established. To ensure adequate drainage:
- If your soil is clay-heavy: Mix the excavated soil with 25-30 percent compost and 10-15 percent coarse sand or perlite. This creates air pockets and prevents water pooling.
- If your soil is sandy: Add 20-30 percent compost to improve water retention and nutrient content.
- If your soil is loamy: Add 10-15 percent compost to boost organic matter. Drainage is likely already adequate.
- Fill the Planting Hole
Place the amended soil mixture back into the hole, gently firming it as you go. Do not compact it heavily; the roots need loose soil to establish quickly. The soil line of your plant should align with the surrounding grade. Backfill completely and water thoroughly to settle the soil.
- Apply Mulch (Optional but Recommended)
Apply 1-2 inches of organic mulch (bark chips, compost, or straw) around the base of the plant, keeping it 2-3 inches clear of the stem. Mulch moderates soil temperature, conserves moisture, and gradually breaks down to improve soil structure. Do not mound mulch against the crown, as this can promote rot.
- Monitor Drainage During the First Season
During the first growing season, watch how water behaves after rain or watering. If water pools around the plant or the soil stays waterlogged for hours, improve drainage by creating a slight mound around the plant or digging a small trench to direct runoff. Dwarf Zebra Grass reaches its full mature size in about 2-3 growing seasons, so patience is rewarded with a more established, drought-tolerant plant.
Tips for Success
Dwarf Zebra Grass is a light feeder. Do not over-fertilize or amend with overly rich soil. Excess nitrogen causes floppy, loose growth and reduces the sharpness of the horizontal yellow banding on the foliage. If your soil is reasonably fertile, skip supplemental fertilizing in spring and let the plant establish naturally.
Soil pH adjustment is rarely necessary. Only pursue it if a soil test confirms values outside 5.5-7.5. The plant forgives most garden pH ranges within this spectrum, so amendment is usually overkill.
Water thoroughly after planting to settle the soil and establish initial root contact. After that first watering, let the top inch of soil dry between waterings during establishment. Once the root system deepens in year two, drought tolerance improves significantly.
Common Mistakes to Avoid
Planting too deep. Placing the grass below its original soil line stresses the crown and delays growth. Always align the soil line from the container with the surrounding grade.
Over-watering after planting. Soggy soil, especially in the first weeks, can cause crown rot or fungal issues. Dwarf Zebra Grass prefers soil that dries out slightly between waterings.
Using sand alone for drainage. Coarse sand drains too quickly and does not retain enough moisture or nutrients. Always pair sand with compost for balanced soil structure.
Expecting perfection overnight. Reach full mature height (3-4 feet in foliage; 4-5 feet including flower plumes) and maximum drought tolerance by the end of the third growing season. First-year plants are still establishing their root systems.
What to Expect
With properly prepared, well-draining soil at a suitable pH, you can expect rapid establishment in spring, with visible new growth within 2-3 weeks of planting. The foliage will fill out with crisp horizontal zebra banding in yellow-gold tones. Flowering typically occurs in late summer into fall (roughly August through October), producing coppery-pink plumes that mature to silvery-tan and white. Drought tolerance improves significantly in year two and three as the root system deepens.
The exact timeline depends on your zone (Dwarf Zebra Grass grows in zones 4-9), the size of your plant at purchase, and local growing conditions. For complete guidance on caring for your plant across every season, see the complete Dwarf Zebra Grass care guide.
Soil Preparation Quick Reference
| Task | Timing | Key Details |
|---|---|---|
| Test soil pH | Before planting | Target 5.5-7.5. Most garden soils are already in range. |
| Check soil texture | Before planting | Clay, loam, or sandy all work. Drainage matters most. |
| Dig planting hole | Planting day | Slightly wider than container, same depth. Space 24-36 inches apart. |
| Amend for drainage | During hole prep | Add 10-30% compost + sand if clay-heavy. Compost only if sandy. |
| Plant and water | Planting day | Keep soil line level with original. Water thoroughly to settle. |
| Add mulch | After planting | 1-2 inches, 2-3 inches clear of stem. Use organic material. |
| Monitor drainage | First season (weeks 1-16) | Watch for pooling water. Improve with mounding or trenching if needed. |
| Reach full maturity | Years 2-3 | Full 3-4 foot height and established drought tolerance by end of season 3. |